You Got Your First Yoyo… Now What?

 Shutter Wide Angle Splash
€54.99
Shutter Wide Angle Splash
€54.99
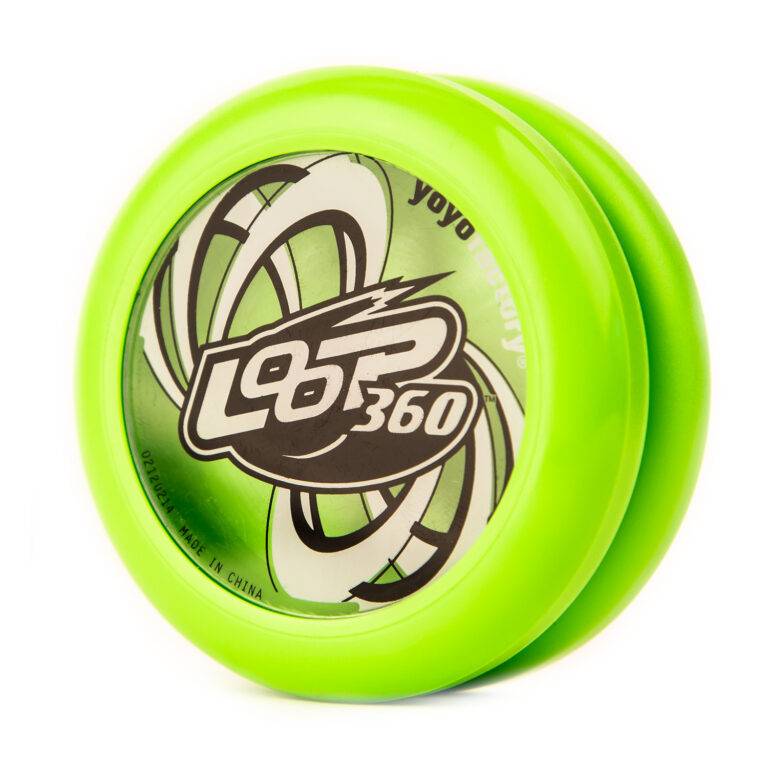 Loop 360
€11.99
Loop 360
€11.99
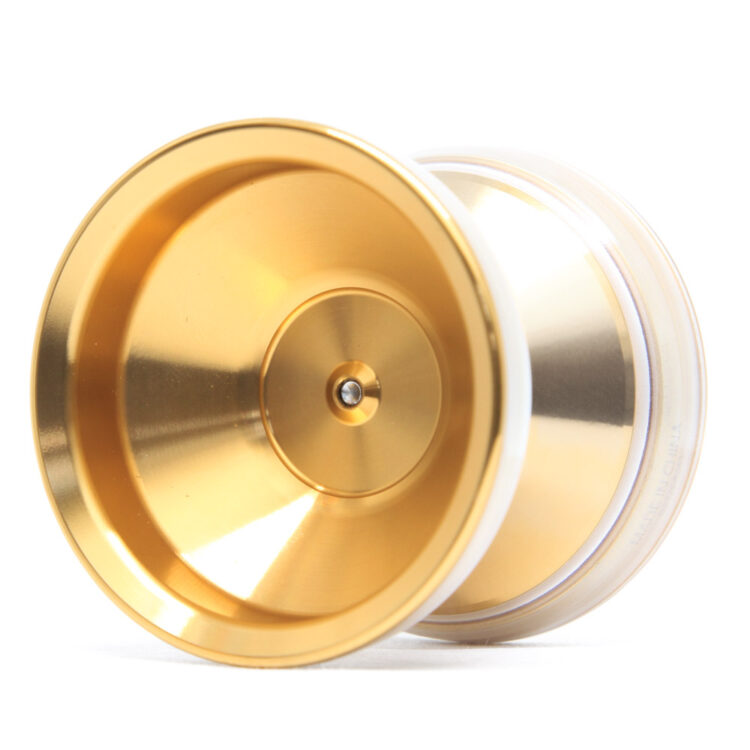 Miracle 25 Yoyo
€150
Miracle 25 Yoyo
€150
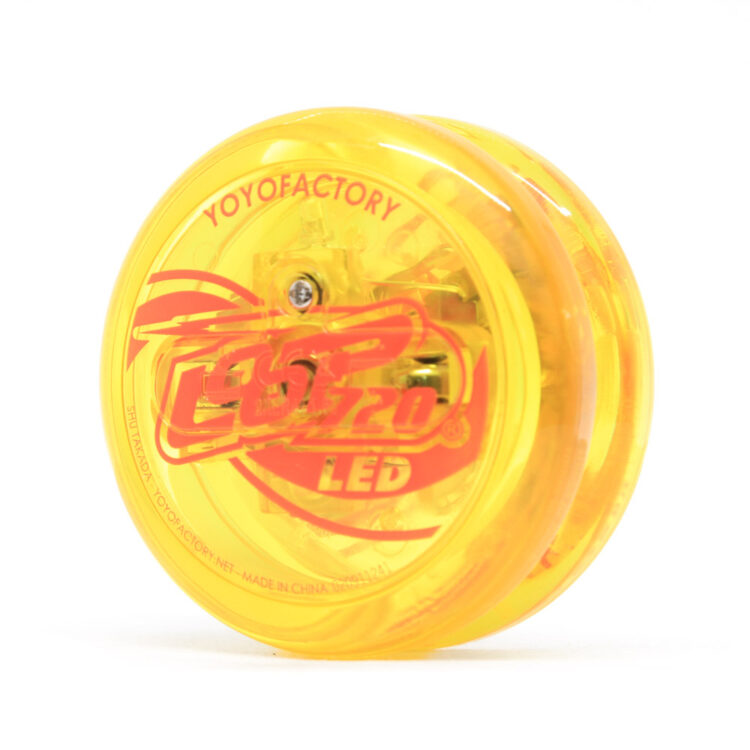 Loop 720 LED
€19.99
Loop 720 LED
€19.99
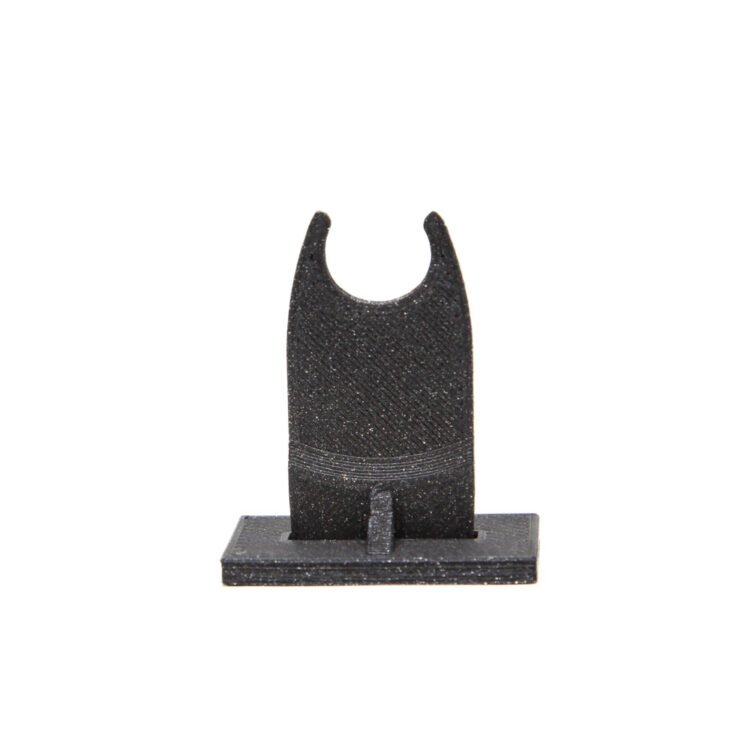 YoYoFactory Yoyo Stand
€2.99
YoYoFactory Yoyo Stand
€2.99
 DNA King
€59.99
DNA King
€59.99
 Horizon
From: €59.99
Horizon
From: €59.99

0